
Learn how to make a homemade EMF detector! Whether you are looking to become a ghost hunter or just looking to gauge the EM disturbance in your house. An EMF meter can assist you in the process of measuring the electromagnetic field.
You don't have to spend hundreds of dollars to purchase an EMF meter. You can simply build one yourself at home!
We will give two examples of EMF detectors that you can use, the first being very simple while the second being a bit more technical.
Please note that like you we are amateurs and tried this out for the first time ourselves.
If you really want a proper reading of the electromagnetic field then we suggest you use an actual EMF meter or get professionals to come in and assist you.

The Basic EMF Detector: Compass
The reason why we are calling this a detector rather than an electromagnetic field meter is because it can only detect an electromagnetic field rather than provide you with measurements of the electromagnetic disturbance.
This detector is fairly simple and only requires one instrument, the compass.
With the compass you won't have the capability to measure the strength of the electromagnetic field in milligauss. However, you gain the ability to gauge the direction in which the electromagnetic field is.
You do not have to go all out and purchase an expensive compass we used an ordinary one that we purchased from a Walmart for under $10.
Generally the compass will point in the direction of north until or unless there is an electromagnetic field present. Bear in mind that any electrical appliance could cause an EMF disturbance.
To test the compass you can grab an electrical appliance such as a handheld radio and pass it by the compass. When you do this, you will notice the needle point away from the radio.
When using the compass, ensure it is on a flat surface and laid out as flat as possible. If it isn’t flat, then it will not directly point to the north.

How to Calibrate your Compass
To get the process started you need to calibrate the compass first.
In order to do that you can go into an open area with limited to no power lines. Lay the compass flat out on your hand and ensure that it is pointing north. Once you have established which direction north is you can walk in a straight line slowly towards your house, keeping the compass as flat as possible.
Be sure to walk really slow. As you walk, you may notice the compass jump a few degrees, that is fine. However, if you notice it jump anywhere from 45 degrees to 90 degrees then there is a huge chance the area has an electromagnetic field disturbance.
Using the compass as an EMF detector uses the same mechanics as most apps you find on your iPhones or Android phones.
They use magnetic sensors in the phone, which supports the compass app, to detect electromagnetic fields while some also provide you with readings, even though most are not as accurate as you may like to think.
With its very affordable price, you don’t have much to lose test this basic EMF detector out.
If you really want to get the most out of it, you can purchase three compasses and lay them out on a ruler next to each other. Use the ruler as the detector, they will give you a more accurate reading of the presence of an EMF disturbance.
The Technical EMF Detector: Arduino
Arduino is a single board micro-controller that allows you to tweak it to your liking, it is open-source. So we can easily work with it to create our own electromagnetic field detector. So along with the Arduino, you need the following:
- 8-ohm speaker
- Standard USB A cable, at least 3.5 feet long
- 1 megaohm resistor
- 3-5 feet of insulated core wire
- Battery pack of 9-volt with fresh 9 volt battery
- Small-Gauge wire stripper
Let's Get Started
The first thing you need to do is download Arduino's free software onto your computer which will allow you to install programs onto Arduino. You can download the software by clicking here.
Next you need to make sure the 8 ohm speaker works. You can do this by plugging the red lead into digital pen eight and the black lead into digital GND pin which would be the same line of pins on Arduino.
Then you can connect Arduino to the computer, using a USB cable. Once you've done that, open the software you downloaded for Arduino and play "toneMelody". You can access the tone by clicking file, examples, digital.
If you hear a melody that means the speaker is working otherwise rework your wiring.
Now comes the more technical part, the actual process of making the detector.
First you need to cut the solid core wire making sure it is about 3 foot long. You can then strip one end of the wire by about 1.5 inches. Connect the 1-megaohm resistor to the end you stripped by twisting it together.
You will then need to insert the wire and resistor into analog pin A5 on the board while inserting the free end of the resistor into the GND pins.
Then, you take one end of a jumper wire and pin it to the breadboard while the other end is inserted into the -9 digital port on the Arduino.
Take another jumper cable and insert one and onto a different role of the breadboard while taking the other into Arduino's digital GND pin.
Now to connect to speaker you take the speakers black lead and pinned it onto the row wired with the digital GND port. While also taking the red lead of the speaker and pinning it in the same row as the digital port -9 is.
Once you have this done you can connect Arduino to your PC.
Then you can download Arduino's electromagnetic interference detector sketch into it. Which can be found here.
Once loaded and the system starts up again, you will begin to hear sounds coming out of the speaker. This is normal since it is picking up the electromagnetic field of your computer.
Now you are Ready to Detect EMF

This means that you now have the electromagnetic field detector ready. You can unplug it and get ready to make it mobile. For that you need to plug the battery into the battery pack and plug it into the power port of Andrunio. It should then start up immediately and the LED on the board should flash.
You can then walk around the room and your house. You will hear a steady stream of white noise and will hear a squeal when you will encounter a change in the electromagnetic field. The louder and or faster the noise the more dense the field is.
If you feel that you don’t want to go through the hassle of making your own EMF detector, you can always purchase an actual EMF meter or download an app on your phone.
We will repeat once again, we are amateurs like you that tested these two processes out. We really enjoyed it however, if you want authentic readings or help regarding readings for electromagnetic field then we suggest seeking professionals. And if it is regarding ghost hunting, then maybe you can contact Ghostbusters.
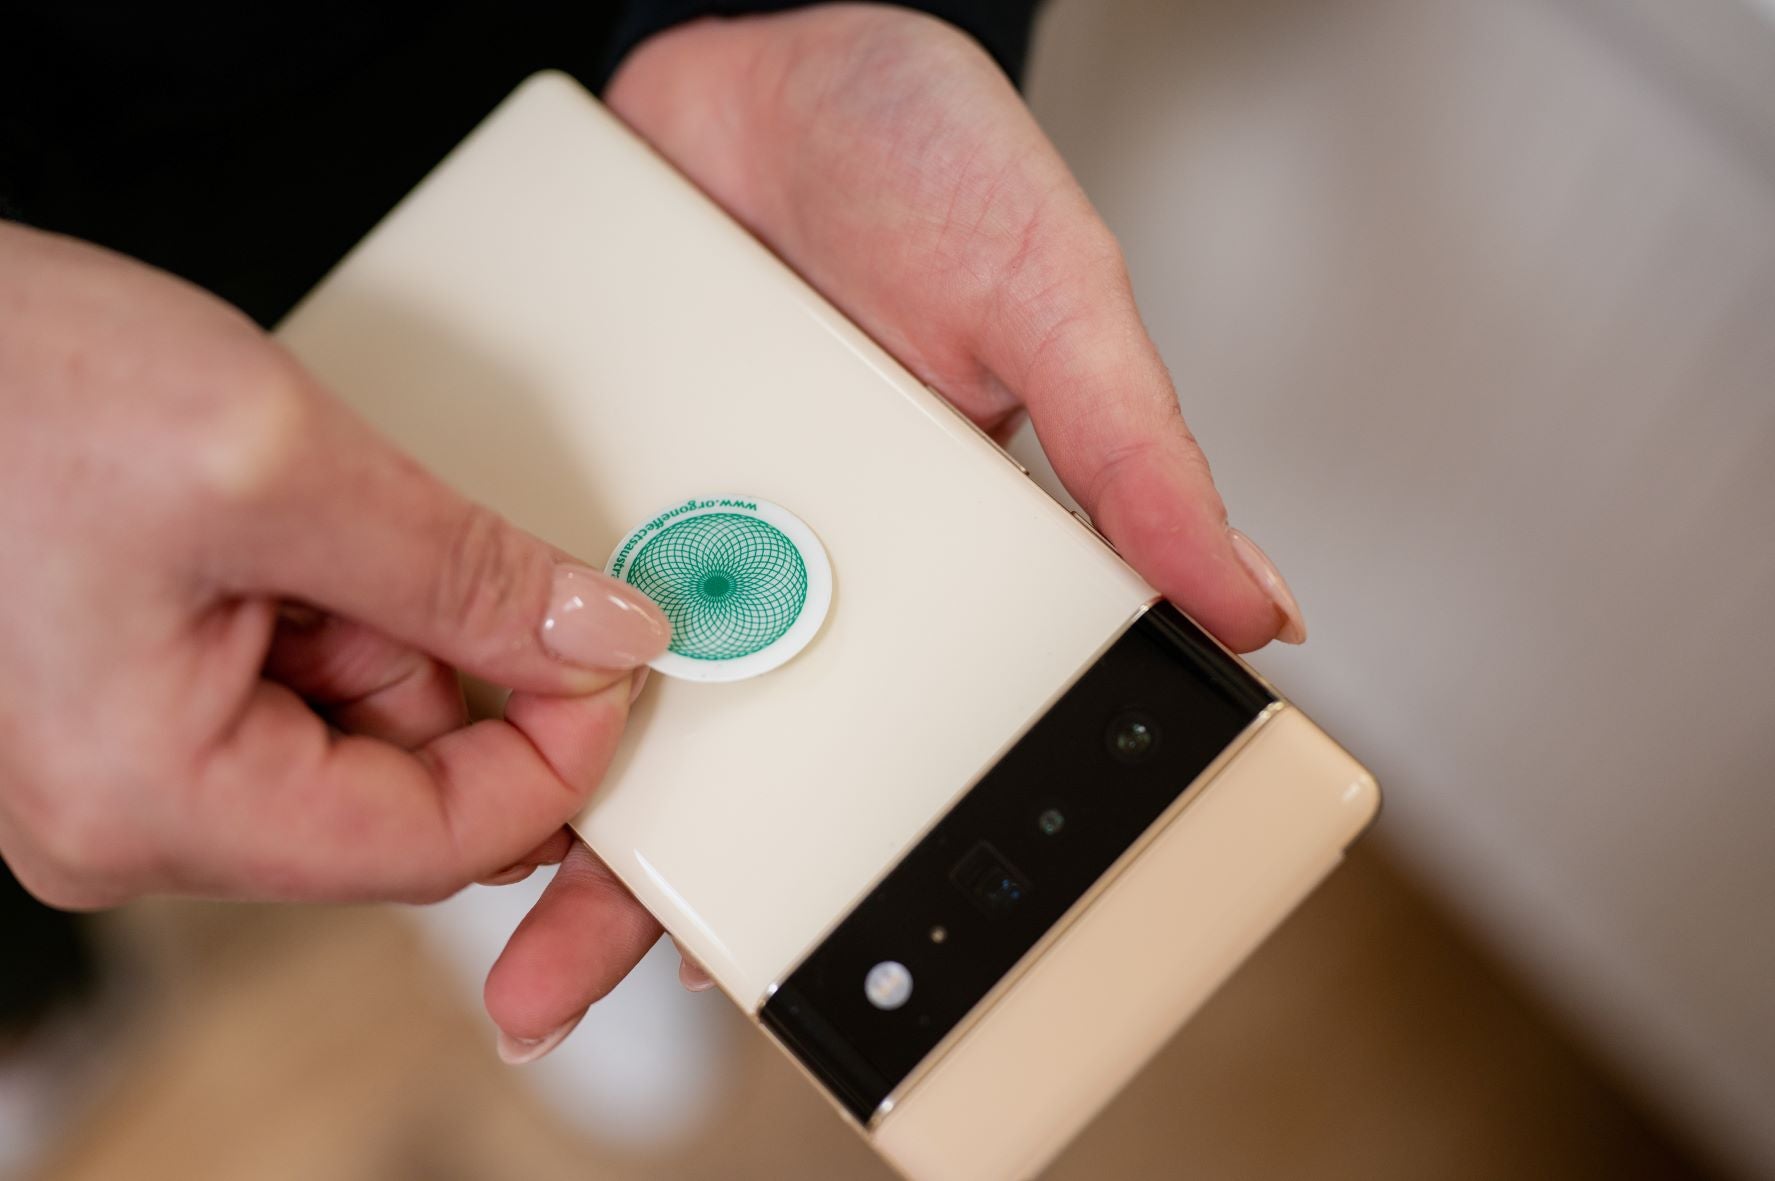
Protect What Matters Most
Of course, detecting EMF will not protect you from its effects. In order to avoid the potential mental and physical health effects from EMF and EMR exposure it is important to have some protection.
Our Orgone Energy line uses healthy negative ions to neutralize the effects of EMF dangerous positive ions. We have products to protect you whether you are at home, work or on the go.